Key takeaways
Using monday.com for project management
Learn more about monday.com in our video below:
Create project boards
A project board on monday.com is a customizable workspace that organizes tasks, workflows, and collaboration for a specific project. It consists of items, subitems, groups, and columns, allowing teams to track progress, manage details, and visualize the overall project structure, all in one centralized place.
monday.com offers various columns and views like Timeline View, Workload View, and Chart View to visualize and manage the project. This approach provides a quick, high-level overview of one or more projects, enabling better control and tracking.
How to create a project board on monday.com
- Click “+ Add” in your left panel.
- Name your board and select the board’s privacy level.
- Choose what you’d like to call your items.
- Add columns to organize details like email addresses, locations, and status.
- Sort items into groups for more structure.
Create task boards
A task board on monday.com is a visual tool that organizes tasks into columns or stages, allowing teams to track progress, manage workflows, and collaborate efficiently. It can be customized with various views and features to suit specific project needs.
Building a task board on monday.com is a flexible and intuitive process that can be tailored to your specific needs and unique pain points.

How to create a task board on monday.com
- Click “+ Add” in your left panel.
- Choose “Start from scratch” to build the board exactly how you want.
- Decide on the permissions: “Main Board” for everyone to access or “Private” for limited access.
- Create groups to organize and categorize all of your items (e.g., days of the week).
- Add tasks (items) to the appropriate groups (e.g., add tasks to the “Tuesday” group for tasks to be done on Tuesday).
- Add columns to provide extra details for your tasks. For example:
- Use a Date Column to set deadlines.
- Use a Status Column to label progress, categorize the task, or attribute it to a department.
- Use a Rating Column to indicate priority.
- Use a Numbers Column to sort the day according to the time commitment.
- Use a People Column to assign tasks to users.
Connect your boards for streamlined tracking
Connecting boards on monday.com can be incredibly helpful for workspaces that include multiple boards, allowing you to link a column of items from one board to another and improve workflows involving interrelated boards.
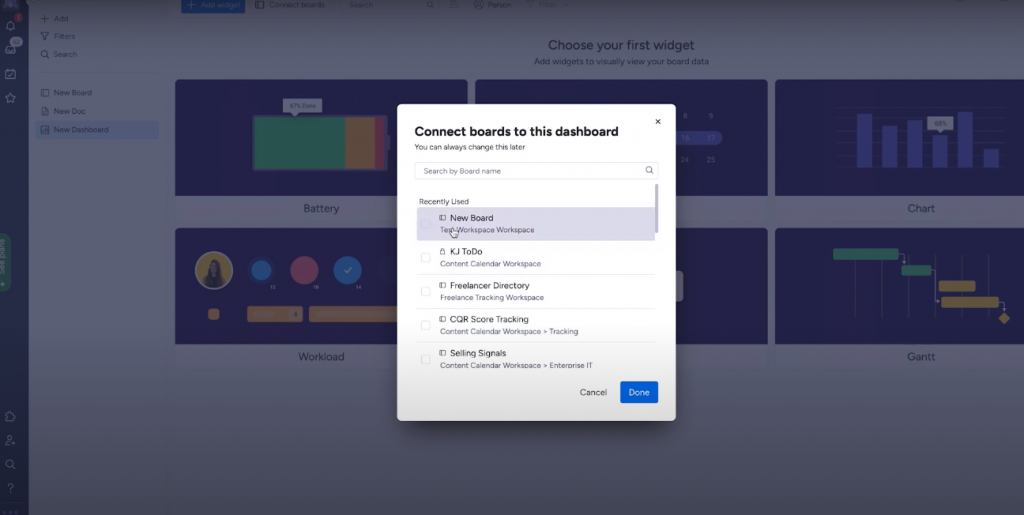
How to connect boards on monday.com
- Select the Workspace you want to work with and open the Kanban Board view.
- Click “Add to Board” at the top right: This will open a pop-up menu.
- Click “Column” to Reveal the Column Center. Then click “Add to Board” associated with Connect Boards.
- You will be prompted to select the board you want to use and click “Connect Boards.”
- Add a Mirror Column (optional): This reflects data from multiple boards in a single column. You can configure the column as needed or skip this step and do it later.
- You can start adding items from the connected board to the newly added column.
Visualize your data with charts
Charts on monday.com visually represent your data, making it easier to understand trends, patterns, and key insights. Whether tracking project progress, analyzing sales data, or monitoring team performance, charts can be a powerful tool to convey information quickly and effectively.
How to create data visualization charts on monday.com
- Open the board with the data you want to visualize.
- Click on “Add View.” This option is at the top of your board, next to the board’s name.
- Select the “Chart” view option from the dropdown menu.
- Choose the chart type. monday.com offers different types of charts like bar charts, line charts, pie charts, etc. Select the one that best represents your data.
- Select the data to visualize. Choose the columns and items you want to include in the chart. You can usually select the X and Y axes and define what data they represent.
- Customize the chart. Adjust colors, labels, and other settings to make the chart more informative and visually appealing.
- Save and share (optional). You can save the chart view for future reference or share it with team members.
Also read: monday.com vs. Jira
Automate your workflows
Automations on monday.com can save time and reduce manual effort by automatically performing repetitive tasks based on specific triggers and conditions. From sending notifications and creating items to updating statuses and due dates, automations can streamline various aspects of project management and collaboration.
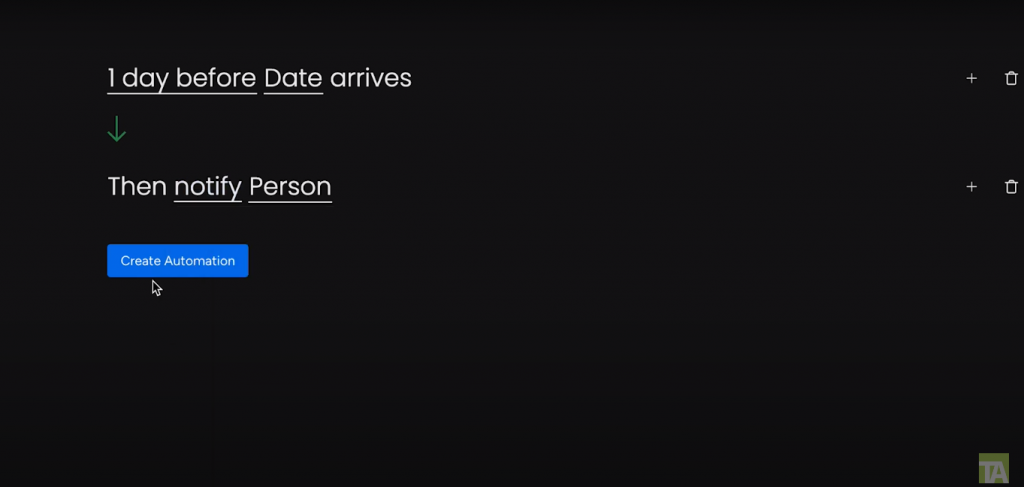
How to create an automation on monday.com
- Determine the specific workflow or process you want to automate within your project or team.
- Navigate to the board where you want to set up automation.
- Find the “Automate” option at the top of your board, next to the board’s name, and click on it.
- Select from various predefined automation recipes that fit your needs or create custom automation by defining specific triggers and actions.
- Depending on the chosen recipe, configure the automation by selecting specific columns, statuses, or other parameters that define the trigger and action.
- Consider testing the automation to ensure it’s working as expected.
- Save the automation, and it will start running automatically.
- Monitor the automation’s performance and make adjustments as needed to ensure it aligns with your workflow requirements.
Example automations
- When a status changes to “Done,” notify someone.
- Every Friday at 9 AM, create an item titled “Weekly Review.”
- When a new item is created, set a due date for 7 days later.
Also read: monday.com vs. Microsoft Project
How to set your integrations
Integrations on monday.com can enhance collaboration and streamline workflows by connecting your boards with other tools and platforms you use. Whether sending notifications, syncing calendars, or linking to email, integrations can create a more unified and efficient work environment.
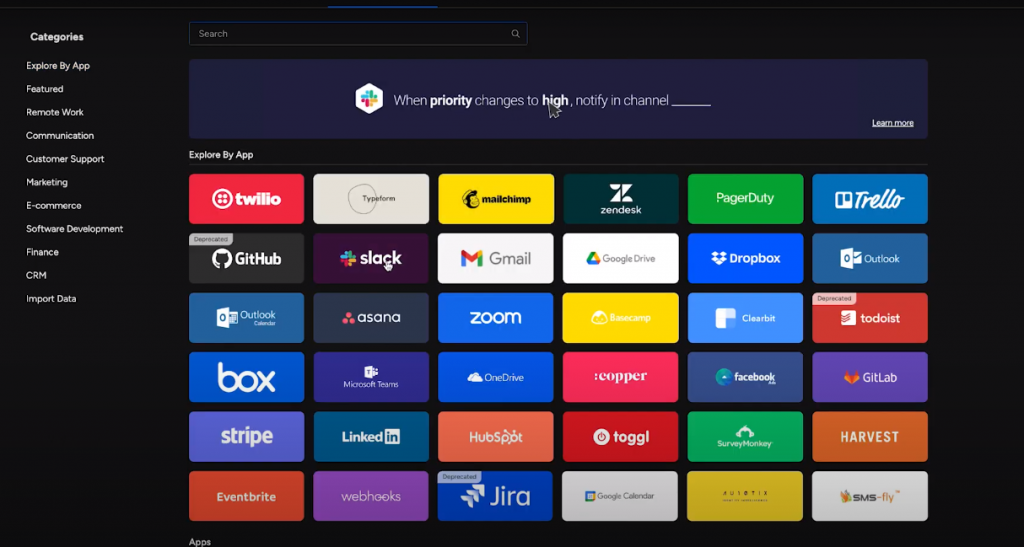
How to set up an integration on monday.com
- Open the board. Navigate to the board where you want to set up the integration.
- Click on “Integrations.” You’ll find this option at the top of your board, next to the board’s name.
- Choose the integration. monday.com offers a variety of integrations with popular tools like Slack, Google Calendar, Gmail, etc. Select the one you want to use.
- Configure the integration. Depending on the chosen integration, you may need to select specific columns, statuses, or other parameters to define the trigger and action.
- Connect your account (if required). Some integrations may require connecting your account with an external tool (e.g., Slack or Gmail).
- Test the integration (optional). You can test the integration to ensure it’s working as expected.
- Save the integration. Once configured, save the integration, and it will start running automatically.
Example integrations
- When a status changes to “Done,” send a Slack message.
- When a new item is created, add an event to Google Calendar.
Also read: Asana vs. monday.com: Top Project Management Software in 2023